Irinos Measurement System
As the Irinos boxes are delivered with an activated DHCP server, in most cases there will be no need to alter the IP configuration.
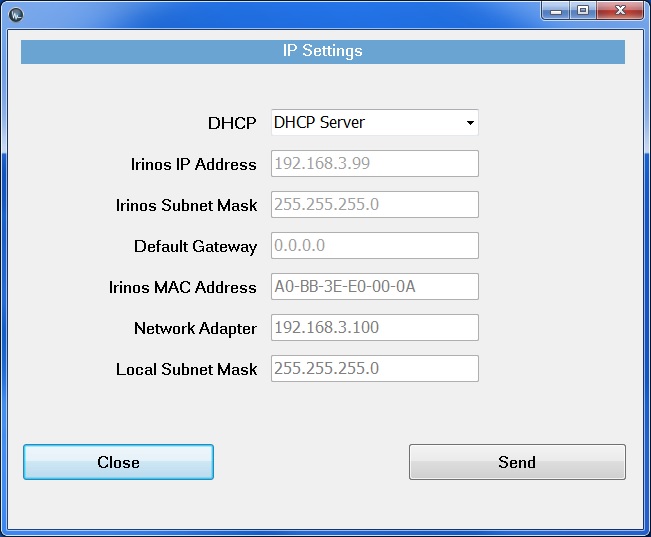
If the IP configuration needs to be changed, a double-click on a particular row in the main window will open the IP Settings window. Initially the window will open up as shown below, with an active DHCP server.
--> Setting DHCP: DHCP Server

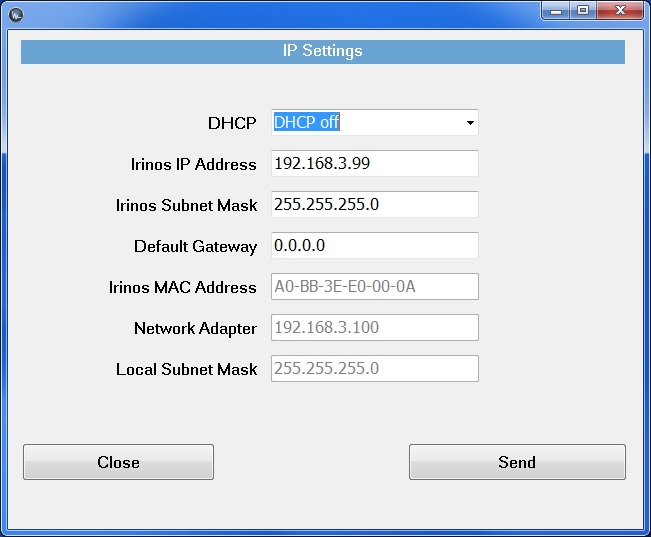
If the DHCP setting is altered to “DHCP off”, the window will enable input fields for
oIrinos IP Address
oIrinos Subnet Mask
oDefault Gateway

The Irinos MAC address and the local computer’s network adapter IP address and subnet mask are shown for guidance reasons only and cannot be modified here.
Now IP Address, Subnet Mask and Default Gateway may be entered according to the requirements of the customer network.
Before the settings are sent towards the Irinos System, several consistency checks are executed:
oIllegal IP addresses such as 127.0.0.1, 127.0.0.0, 255.255.255.255 are refused.
oDoes the chosen IP address match the subnet of the local network adapter ?
oIs the chosen IP address the same as the local network adapter IP address ?
oIs a standard IP range used (10.0.0.0 to 10.255.255.255, 172.16.0.0 to 172.31.255.255, 192.168.0.0 to 192.168.255.255)
Illegal IP addresses cannot be sent, any other setting can be used after the user has explicitly confirmed his choice.
After the configuration settings were sent to the Irinos-System, it performs a reset. While executing the reset, the appropriate table row in the main window may disappear, if the update button is pressed within this time period. After approximately 10 seconds the Irinos-System is reachable again. Anew pressing the update button is causing the appropriate table row to show up again. If the Irinos-System setting had been modified, the new settings are now being displayed in the table row.
